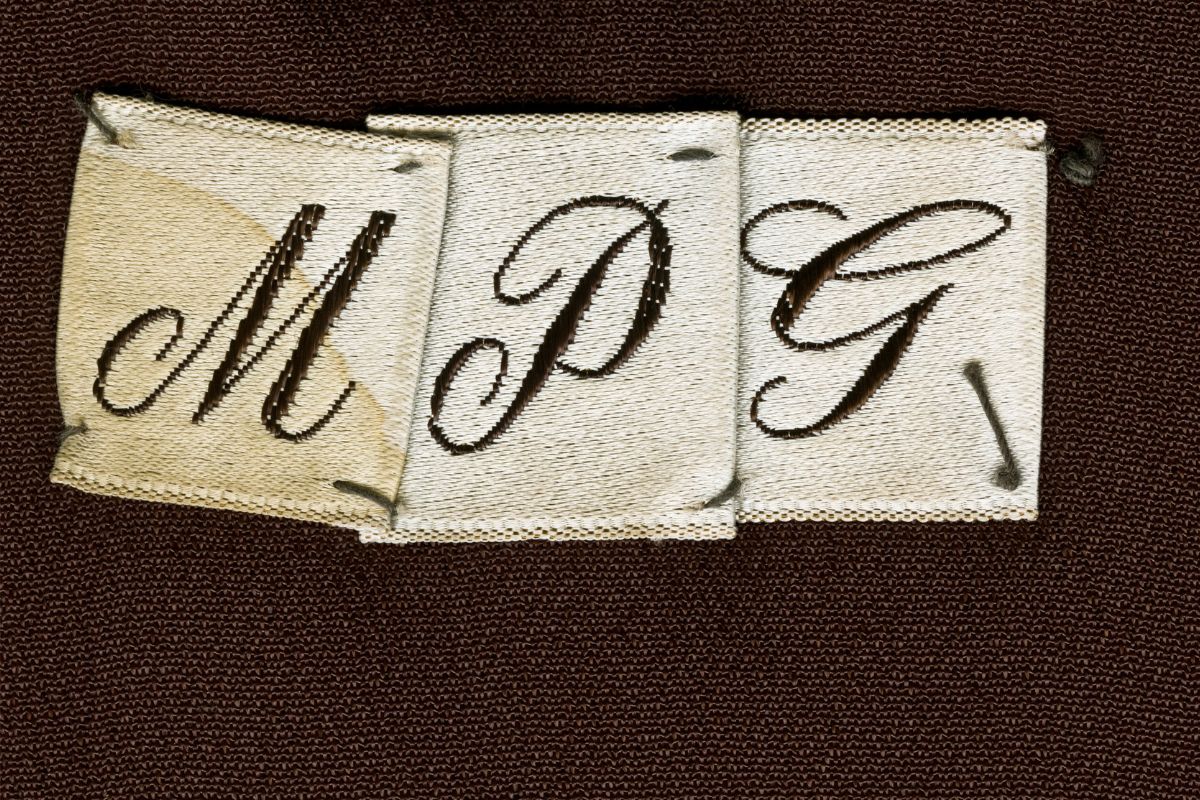
Monograms are a great way to personalize an outfit and can help you to create a unique custom look, as well as add a touch of luxury to otherwise simple garments.
Monogrammed pockets are often popular additions to nightgowns, adding a bit of extra style and sophistication, and helping to ensure that bedtime feels like a real treat.

To help you achieve this sensation of luxury, we have put together all you need to know about adding monogram pockets to your nightgown; simply follow our steps and enjoy the results!
What Is A Monogram Pocket?
Monogramming is the process of creating personalized text or images on fabric, leather, paper, canvas, wood, metal, glass, plastic, ceramic, stone, etc.
The most common monogram styles include block letters or cursive script, and most commonly feature the initials of the owner or wearer.
Monogrammed fabrics are usually sewn into clothing using special techniques, while monogrammed leather goods are often attached with glue or other fasteners.
Monogrammed jewelry is typically made by hand, but may also be mass-produced in factories.
How Can I Make A Monogram Pocket For My Nightgown?
So, just how do you go about adding a monogrammed pocket to your nightgown? We have a few simple steps to follow.
Choose Your Material
The first step to making a monogrammed pocket for your nightgown is choosing what type of material you would like the pocket to be made from.
There are many different options available, including cotton, silk, satin, linen, polyester, rayon, wool, denim, chiffon, lace, velvet, etc.
You will want to choose something that fits your budget and lifestyle, as well as your personal preferences.
Alternatively, you may wish to simply go with the same material as your existing nightgown, which may require you to hunt down the fabric – try contacting the manufacturer or retailer, as they can often point you in the right direction, or look at the care label for an idea of the right fabric.
While you may not be able to track down an exact match, you could purchase the same type of fabric in a slightly different shade, making the pocket a statement piece.
Choose The Size Of Your Pocket
The next thing you will need to decide is how big you want the pocket to be.
If you plan on storing things in your pockets, such as tissues, glasses, or other nighttime essentials, then you should make sure that the size of the pocket is large enough to accommodate whatever items you might want to keep inside.
The size of the pocket will also be determined by the size and space of your nightgown; if you don’t want to use up too much space on the front of your nightgown, you could always opt for a smaller, more discreet pocket.
Cut Out Your Pocket
Now that you have chosen the size and placement of your pocket, you will need a cutting mat, scissors, ruler, pencil, tape measure, and sewing machine.
Using the tape measure, to measure out the size of your pocket in the new fabric, mark off the desired length. Then, cut along this line, leaving approximately 1/4 inch extra all around.
Cut out the shape of the pocket, leaving around a quarter of an inch seam allowance to attach the pocket to the nightgown.
Add The Monogram
The next step is to add the monogram to the pocket, and you can do this by either embroidering the monogram directly onto the pocket or by printing the monogram onto transfer paper and transferring it to the pocket, depending on your skill level and personal preference.
Embroidery
If you would prefer to embroider a monogram onto the pocket, you will first need to prepare the area where you would like the monogram to appear.
This involves marking out the position of the monogram onto the fabric using the ruler and pencil, and sketching out an outline of the design using a fabric pencil – it is a good idea to try and practice this on a scrap piece of fabric to make sure that you get the perfect end result.
Next, you will need to take the needle and thread and stitch the monogram into place. Start stitching about 2 inches away from the edge of the fabric, and continue stitching across the outline of the design.
Once finished, remove the needle and thread, finish off the design, and trim any excess threads.
To print the monogram onto transfer papers, you will need to find a suitable printer.
You can buy these pre-printed sheets online, but you may be better off purchasing a copy of the font you would like to use and printing it yourself.
Transfer The Design Onto The Fabric
You now need to transfer the design onto the fabric. For this, you will need to iron the transfer paper onto the fabric.
First, lay the fabric face down on the ironing board. Next, lay the transfer paper over the fabric, making sure that the design is facing upwards.
Finally, press the iron against the transfer paper until it has completely transferred onto the fabric.
Mark The Placement Of The Pocket On Your Nightgown
After you have completed adding the monogram to the fabric, you will need to decide where you want to place the pocket on the nightgown. Mark the spot using the ruler and fabric pencil.
Once marked, cut out the pocket with the scissors.
Attach The Pocket To The Nightgown
Finally, you will need to sew the pocket onto the nightgown. This can be done using either hand or machine sewing.
If you are using a sewing machine, you will need to set the dials to match the thickness of the fabric used for the nightgown.
It is also important to remember to adjust the tension so that the stitches don’t pull too tightly through the fabric.
For hand sewing, simply pin the pocket onto the nightgown, then start sewing at one corner and work towards the other corner.
When you are happy with the placement of the pocket, turn the nightgown inside out, and check that everything fits correctly.
Final Thoughts
Adding a monogram to the pocket of your nightgown is a great way to personalize your outfit without having to spend a lot of money.
However, if you are not confident in your skills, you should probably leave this job to someone else.
- 10 Fun Snacks To Serve For The Soccer Game - December 7, 2022
- Handmade Mother’s Day Presents (5 Craft Ideas) - December 7, 2022
- How To Make Easter Eggs (With Sharpies) - November 29, 2022


