Not only are they easy to make, but your children will have fun creating their own designings on the koozie – and if they are a gift for someone special, then they will be excited to pass it onto them as a present.
Fortunately, you do not need much when it comes to crafting a bottle koozie. Having said that, you will want to purchase some foam.
The material needs to be waterproof and be able to withstand being used.
So, with this in mind, I have put together a simple to follow guide on how to make a bottle koozie. It is a fun craft (see also “10 Fun Easter Crafts That You Will Love“) for kids during summer.
Why Make A Bottle Koozie With The Kids?
A bottle koozie is not only really simple to create, but it lets your children have fun doing their own designs.
In fact, all you need is some foam and Sharpies in various colors. They will then be able to draw their own fun designs onto the koozie.
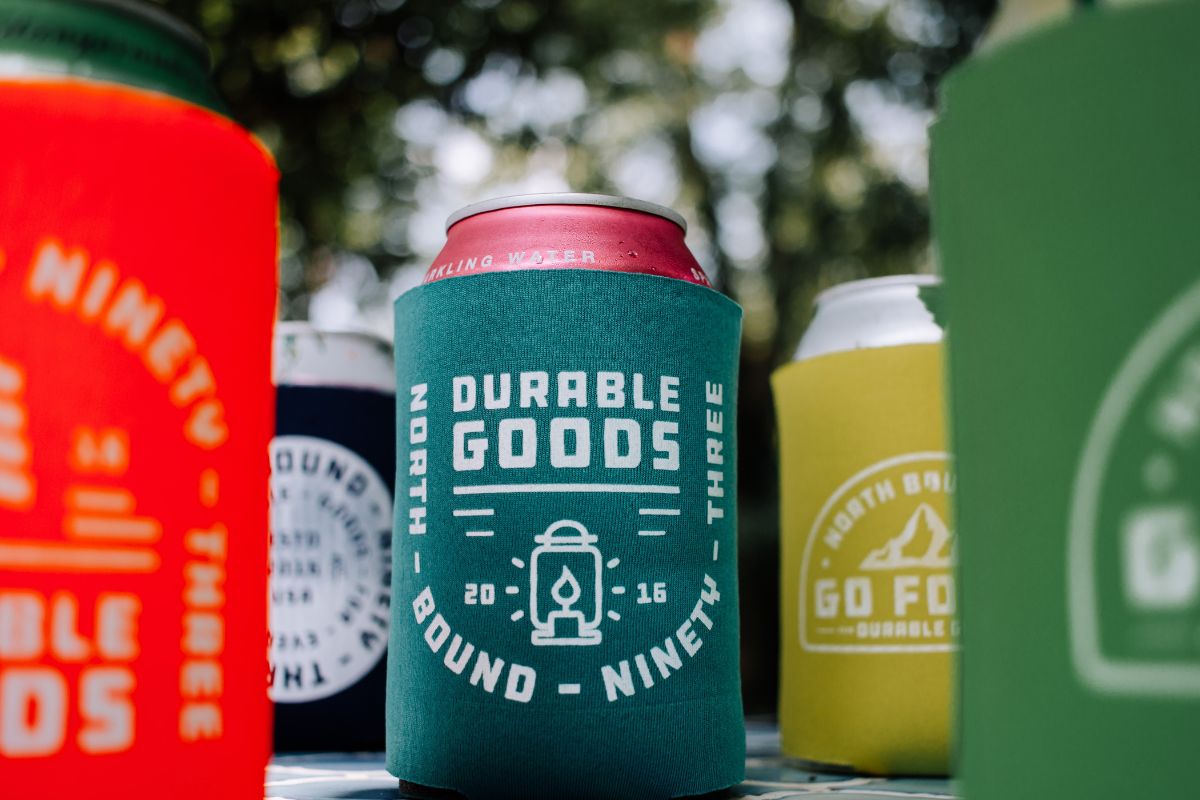
However, while a koozie is often used for dad and his beer (see also “How To Make Your Own Beer“), a koozie can also be used on a canned beverage too, or the child’s bottle of drink.
It also makes a great personalized gift from the children. So, it could be a koozie for dad, mom, or even grandpa. The choice is yours!
Here is an easy step-by-step guide on how to make a bottle koozie:
What You Need?
6mm white foam as a sheet
Sharpies (or any kind of permanent markers)
Duct tape in white
Craft knife
Craft scissors
Ruler
Self-healing mat
Step-By-Step Guide: Making A Bottle Koozie With The Kids
Step 1: Measure And Cut The White Foam
This step is for adults! Place the white foam sheet on the self-healing mat. Using a ruler, measure out 10 inches wide and 4 inches tall.
You can either mark this with a pencil or cut as you go. To cut, use a craft knife along the ruler and use a back and forth motion to cut it.
Step 2: Getting Creative On The White Foam
Once you have the strip of white foam, you can let your children loose with their designs.
Let them sit at the table and use various Sharpies (or other felt markers) to create wonderful designs. If you have more than one child, make enough for each of them.
Step 3: Sticking The White Foam Together
Once the kids have finished their designs, you can begin the creation of the actual koozie. Just like step 1, this is best for the adults to do.
Place a strip of duct tape onto a self-healing mat. Place a ruler halfway lengthwise and use the craft knife to cut it in half.
Roll the white foam up so the opposite ends are joined together but do not overlap. Stick these two ends together on the inside and outside using the white duct tape.
Step 4: (Optional) Creating A Base
If you do not want to create a base, then it means you are finished. Now you have a fully working bottle koozie! However, you can add a bottom to the koozie.
This prevents the beverage from falling out of the bottom of it, especially when it is wet and slippery from the condensation of being cold.
Place the bottle koozie onto white foam and using a light colored sharpie (like yellow) trace the inner circle of the koozie.
Step 5: Cut Out The Inner Circle Shape
Remove the koozie and you are left with a circle shape on the white foam. Cut this out either using scissors or a craft knife.
It may be a little fiddly and you might find that it is difficult to get a perfect circle shape. That is okay, because it is not easy!
Turn the koozie upside and place the circle onto it. You will see it fits snugly inside the foam. This is exactly what you want.
Step 6: Create The Bottom Of The Bottle Koozie
Keep the foam stuck inside the bottom of the koozie. Make sure it is not pushed too far inside, and instead is level with the outside foam.
Place two strips of white duct tape in an ‘X’ shape over the bottom end. You can also add some color too, but this is completely optional.
Make sure the duct tape is stuck to the sides and the bottom of the koozie. This is what will hold the bottom in place.
Step 7: Cut The Duct Tape
Using sharp scissors, cut around the edges of the duct tape that spills over the side of the koozie to create a circular shape.
Once you have done this last task, you have completely finished making a bottle koozie!
Step 8: Finished
The last thing to do is put a beer inside the bottle koozie. It should not be too snug, but should be able to withstand a cold bottle of beer or a can of something bubbly.
You could even use it to cover a plant pot, though you may need to line it in order to protect it from water that is drained from the house plant.
Hi, my name is Jenna King and I used to be so bored with my life - waking up, working, watching TV, and going to bed.
I made one major change in my life - I started saying yes to everything. My friend wanted to take a cooking class with me, which I would never normally do, but I said yes.
I created this website as an inspiration to you, no matter where you are in life, to get out there and try something new.
Right now - pick something from my site, whether it be a recipe, DIY, or activity - and have fun!


")

")
")


