Not only is it a fun activity to do, but your children will be rewarded with chocolate coins or some kind of treasure the next day.
While it has similarities to Elf on the Shelf during the Christmas season that involves you moving the naughty elf around the house every day, building a leprechaun trap involves placing it somewhere the night before St. Patrick’s Day in the hope of trapping one.
If your kids wake up to find that there is treasure within the trap, then they will know that a leprechaun visited overnight. They also get to eat the tasty treats!
One of the best reasons for this new tradition is the fact your children can be fully involved.
They can help to make the trap and place it somewhere, and then all you need to do is secretly put some treasure inside.
So, before you give your children craft supplies, I have put together a great idea on how to make a leprechaun trap. Hopefully you will find one that you like best!
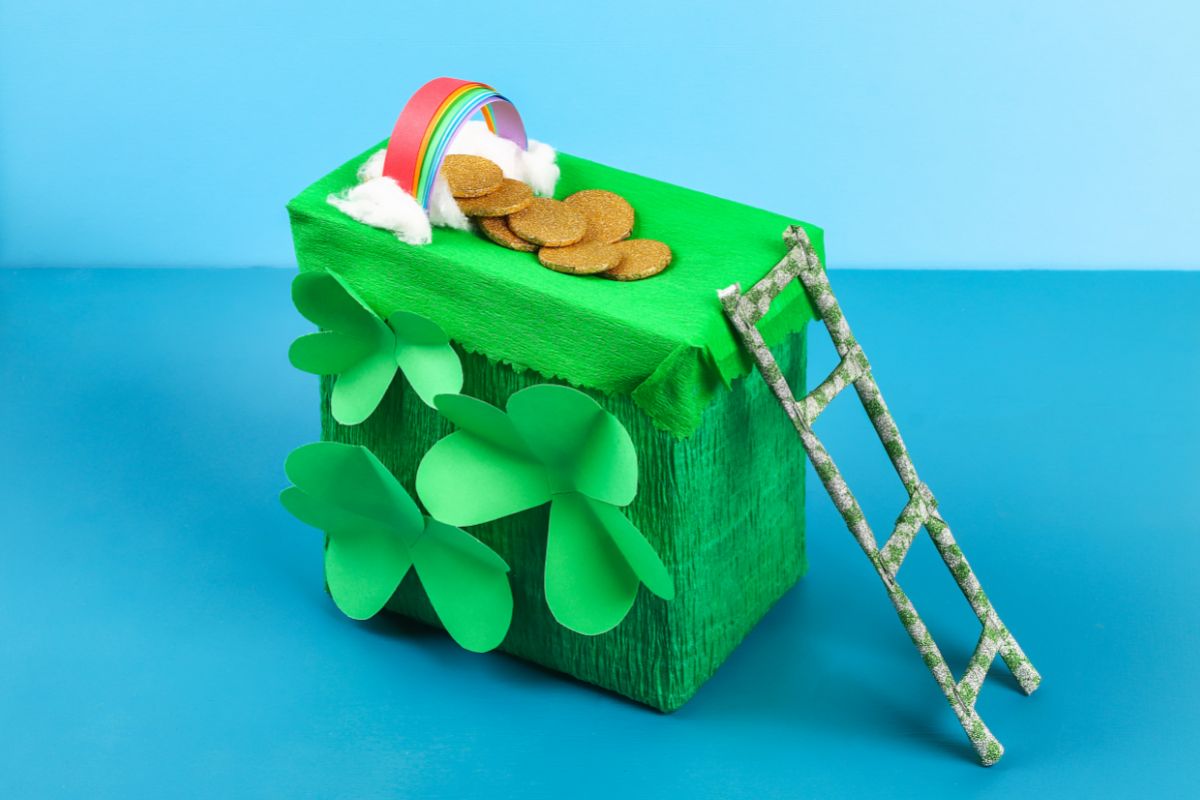
This is a fun project that is not too difficult to do. It is meant to look like a hat is being propped up by sticks. The treasure is along the path which the leprechaun will follow.
Once he arrives under the hat he might accidentally knock the sticks causing the hat to trap him in!
What You Will Need?
Green card
Black card
Yellow card
Green Shredded paper
Plastic gems
Empty gold coin wrappers
Thick brown cardboard (like an Amazon package)
An item for the cauldron
3 popsicle sticks
Felt marker
Glue
Pencil
Scissors
Step-By-Step: How To Make A Leprechaun Trap Hat?
Here is a quick and easy way to make a leprechaun trap:
Step 1: Start Creating The Hat
Cut out a wide and long piece of green cardboard. Attach both opposite ends together to create the hat.
You need to make sure that it is not too wide and round. However, it does need to fit a leprechaun underneath it!
Step 2: Add Pieces To The Hat
Use this hat piece to trace the circle around the bottom of it onto green cardboard. Remove the hat piece.
You should have a circle on the green cardboard. Draw another circle about 1 inch thick inside the circle. This will need to be cut out.
Draw an outer circle that will be the size of the brim of the hat. This size is up to you. Cut it out.
You should be left with a donut which has a small hole. You will also still have the circle pencil mark. Cut slits up to this pencil mark.
Step 3: Finish Building The Structure Of The Hat
Use glue to stick these slits to the inside of the hat. You should now have a green hat. You can also add a strip of green card round the top of the hat too.
To close the hat at the top, you will need to trace the circle of the hat onto the green card, and add 1 inches when drawing another circle on the outside of the circle.
Cut the circle out and cut slits to stick onto the hat. Now the leprechaun cannot escape!
Step 4: Add A Buckle
Using the black card, cut out a thick strip and glue it around the hat close to the brim. Using the yellow card, draw a rectangle and another rectangle inside it.
Cut out the outer and inner rectangle to create a buckle. Stick this on the front of the hat on top of the black card.
You can add any other embellishments too. If you have any glitter card, then draw a clover and stick it in the middle of the buckle.
Step 5: Create The Base
Cut out a piece of thick brown cardboard. Mark out where you want the hat to be, and draw and cut a path using the yellow card.
Place this in the middle of the brown cardboard. It should look like it is leading up to the hat.
Use shredded green paper to brown cardboard to look like grass. It may get a little messy here!
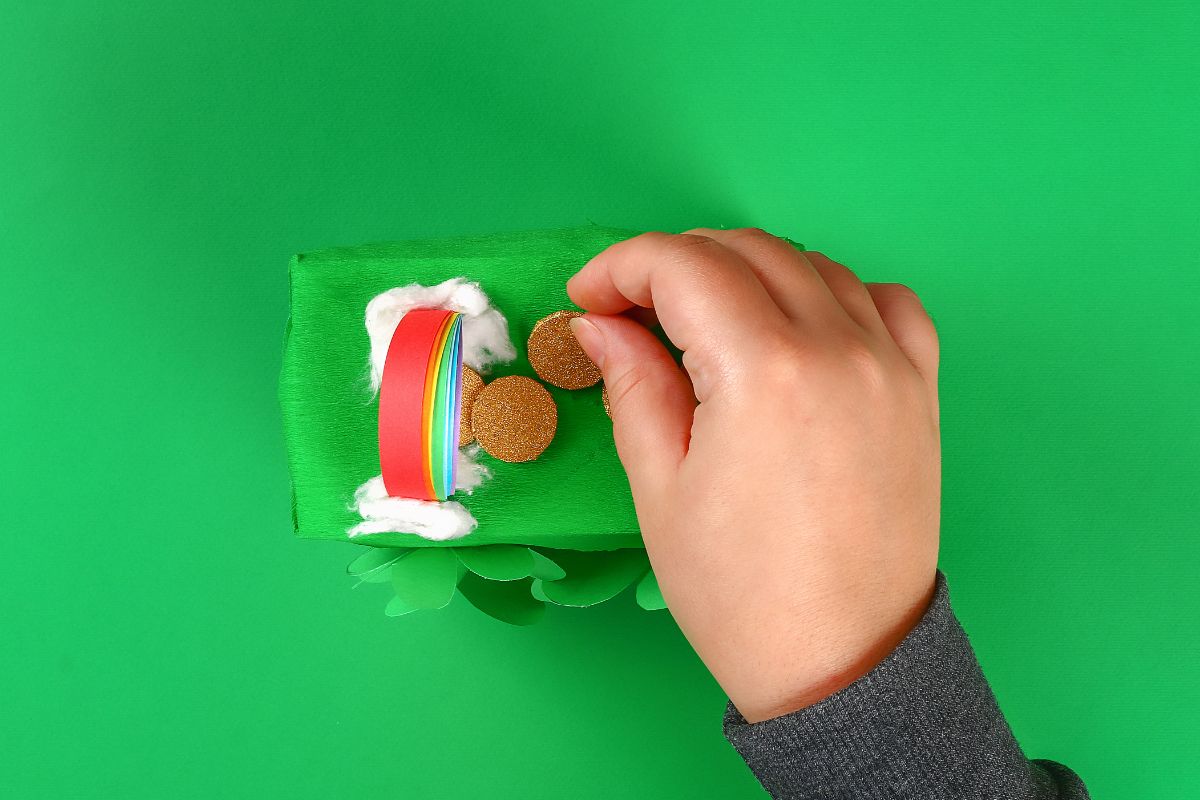
Step 6: Add Plastic Treasure
You will need to lure the leprechaun into the trap. To do so, add plastic gems and empty gold coin wrappers up the path.
You can also create a sign using the yellow card. Write ‘Pot Of Gold This Way’ or anything you like. Add it to the grass using a popsicle stick cut into half.
Step 7: Putting The Scene Together
Now that you have the base and the hat complete, you need to add both together. Place the hat tilted onto the base where the pathway finishes.
One side of the hat should be held up by two popsicle sticks. You may need to use something to stick the bottom of the sticks temporarily onto the base to stop them from falling.
Lastly, place a tiny plastic cauldron filled with empty gold coin wrappers to lure the leprechaun in.
Step 8: Finished
And there you have it, a fully functioning leprechaun trap that should be left somewhere overnight and into St. Patrick’s Day. Will there be new treasure inside?
Final Thoughts
Building a leprechaun trap is a fun thing to do with the kids. You can have lots of fun coming up with unique ideas, and finding items around the home to craft with.
As we all know, leprechauns love gold. This makes it fun to create signs to lure the leprechaun into the trap, or to create fake gold coins because he cannot resist them.
Hopefully you will have fun making a leprechaun trap with your kids. No doubt you will soon have a fun leprechaun trap to enjoy for years to come.
Hi, my name is Jenna King and I used to be so bored with my life - waking up, working, watching TV, and going to bed.
I made one major change in my life - I started saying yes to everything. My friend wanted to take a cooking class with me, which I would never normally do, but I said yes.
I created this website as an inspiration to you, no matter where you are in life, to get out there and try something new.
Right now - pick something from my site, whether it be a recipe, DIY, or activity - and have fun!


")

")


")