Whether you are looking to create something for your own mom, or want to do a fun project with the kids, this time of year is a good excuse to do something that is not in front of a screen.
While there are so many things you can do with the kids – make a card, draw a family picture or stick together a bunch of flowers made out of colorful cardboard – there is also another wonderful idea: a love mug.
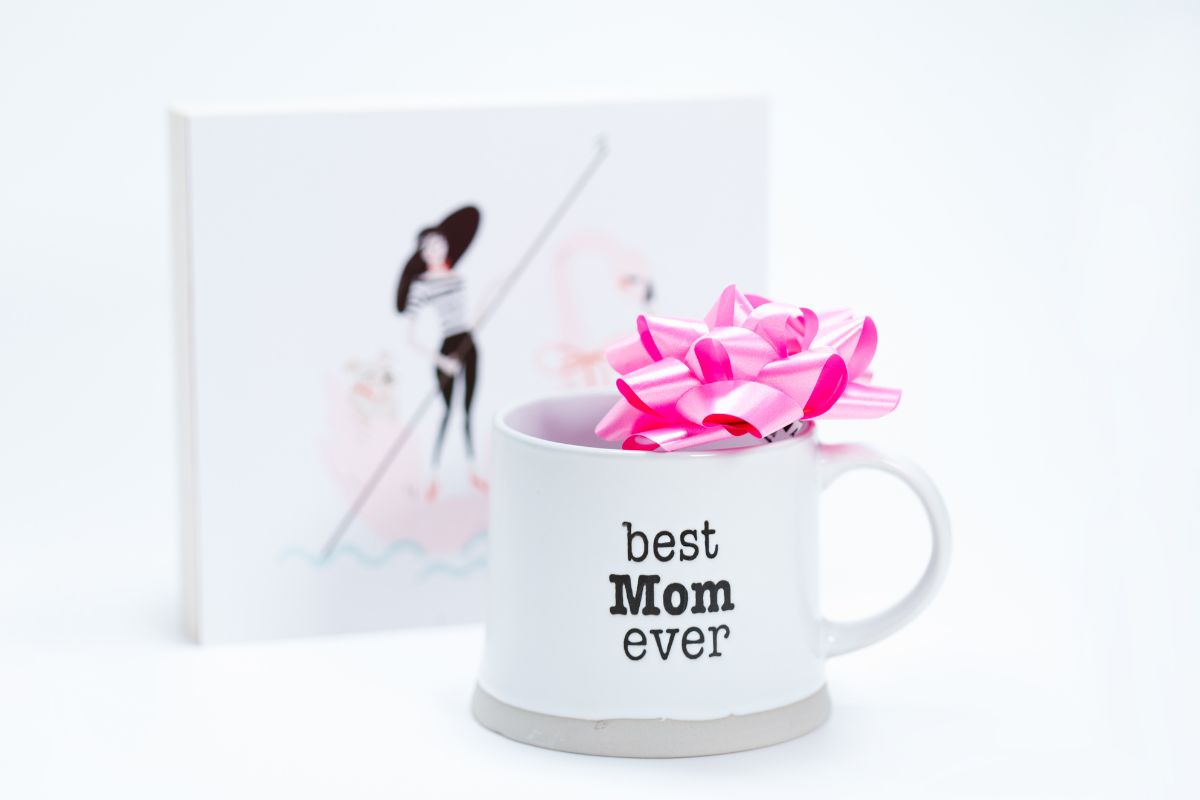
A love mug is not only really personal, but it is something useful too. Every time you or your mom uses the mug, they will remember all the love that they are shown by family members.
So, if this is an idea you are interested in, then look no further. Below you will find out all you need to know to make a wonderful love mug for Mother’s Day.
What You Need To Know Before Making A Mother’s Day Love Mug
Before I begin explaining how to create this beautiful project, you will need to know some things first.
While I have written some information on timings and temperature, you will want to refer to what it says on the packaging of your paint markers.
It may vary between brands.
So, instead of following the information down to a T, you will need to make sure that you have placed the mug into the correct temperature and waited the correct amount of time.
If you do not, you may find that your mug is not suitable to be washed or that it does not turn out exactly how you wanted it.
Now that is out of the way, shall we take a look at how to create a Mother’s Day love mug?
Materials Needed To Create A Mother’s Day Love Mug
White mug
Paint markers
Alternatively, glass markers
A cloth or towel to protect surfaces
Paper and pencil to practice design ideas
Step-By-Step: How To Make Love Mug For Mother’s Day
Here are a few simple steps to follow in order to create a Mother’s Day love mug:
Step 1: Practice First
Before you go straight to drawing on the mug with paint markers, practice using a pencil onto paper exactly what your design is going to look like.
If it is a child creating the design, then this is a good way to get them thinking about different possible designs. They can then choose their favorites for both the front and the back of the mug.
Step 2: Paint The Mug
Now that you have practiced the design, and know exactly what you want to do, you can begin applying it to the mug.
Every time you use a paint marker you will need to shake it first. Also, when using different colors, allow one color to dry as much as possible first. The wet paint can smear when touched.
This is especially important if you are drawing a black outline around the picture and do not want the colors to smear with each other.
Once one side has been painted, try to avoid picking the mug up by its body when painting the other side.
If you do, there is a good chance that you will smear and smudge the design which is drying on the other side of the mug.
Step 3: Air Dry The Mug
Once you are happy with the design of the mug, you will likely need to let it air dry.
While it might be tempting to leave the mug to air dry until the morning, it is often suggested that they are air dried and put into the oven within a specified time – often 8 hours.
This is the boring part for children, so once the designing and decorating process is over, they can be let go to do something else with their day.
Step 4: Place The Mug In The Oven
In this case, I let the mug air dry for around 4 hours. Once the time was up, I placed it into the oven for around 40 minutes at 375 degrees Fahrenheit.
The mug will be very hot once it is removed from the oven, so you will want to let it cool for a while. It should feel like room temperature once it has cooled completely.
Step 5: Final Touches
Now that the design of the love mug is ready, you can add the finishing touches.
If the mug is for you (or you are the partner and are doing it for your children’s mom), then let your children choose a few things to include inside the mug.
If you are the one choosing, then you can do the same process too. Some of the things you can add inside the mug are premium tea bags, hot chocolate, or even coffee.
It is a fun way to add that little extra of love to the gift to show a mom how much you (or they) care.
Final Thoughts
If you are wanting to do something different this Mother’s Day when it comes to gift ideas, then a love mug is a great option.
Not only is it really personal, but it is something that a mom can make use of too – even though the kids’ drawings do always get put on the refrigerator, of course!
It is very simple to create a love mug too. All you need is a white mug, paint markers, a design idea and an oven – oh, plus plenty of time too.
It can also be created by you or the kids, making it a very versatile crafting project (see also “Paper Soccer Field (How To Make)“).
So, the next time you are stuck for ideas when it comes to Mother’s Day or gifting in general, a cool and personal mug may just be the best idea. Who does not like a gift which has been created by a loved one?
Hi, my name is Jenna King and I used to be so bored with my life - waking up, working, watching TV, and going to bed.
I made one major change in my life - I started saying yes to everything. My friend wanted to take a cooking class with me, which I would never normally do, but I said yes.
I created this website as an inspiration to you, no matter where you are in life, to get out there and try something new.
Right now - pick something from my site, whether it be a recipe, DIY, or activity - and have fun!


")


")
")

