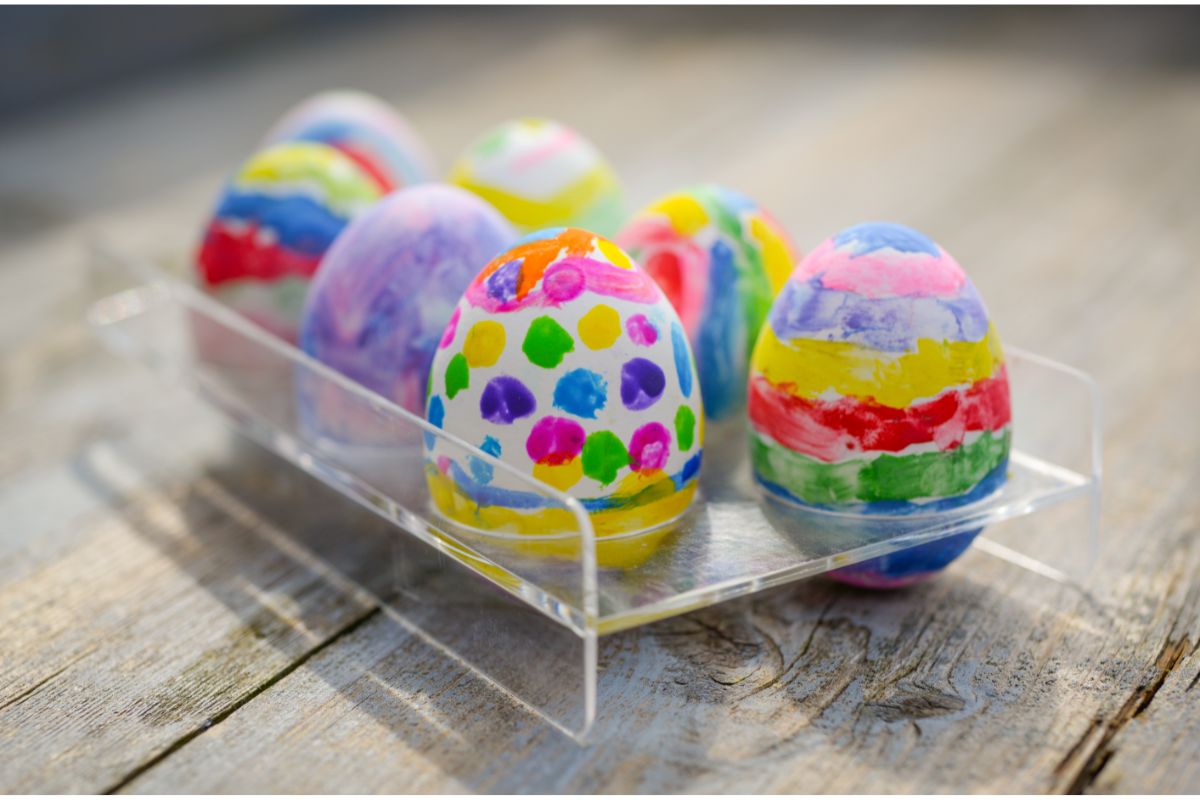
When it comes to craft projects in the spring, everyone loves to make their own Easter eggs. Not only are they super cute decorations but they can be used for egg hunts too!
However, decorating your own Easter eggs can be tricky but there are lots of fun methods you can try out. One popular method is by using Sharpies – but how?
Check out our ultimate guide to making Easter eggs with Sharpies down below!
Making Easter Eggs: Real Eggs Or Fake Ones?
The important first step in any craft project is to make sure you have all of the right supplies and materials.
Imagine trying to make a recipe without all the ingredients – it would be so stressful and a massive disaster! So – why start a craft project without all of your supplies?
Of course, for this project you will need two main things – Sharpies, and eggs.
Now, you can use either real eggs for this project or fake ones made from polystyrene, styrofoam, or some kind of soft plastic.
Most craft people use the polystyrene eggs for multiple reasons: they last longer, they’re easier to decorate and design, they’re less likely to break, you can give them to your kids without worrying about them breaking or eating them.
However, traditional Easter eggs are made using real, actual eggshells. If you want to try making Easter eggs with real eggs, then let’s take a look at how you can properly prepare your eggs.
How To Prepare Your Easter Eggs
Now, there are different ways you can prepare your eggs to turn them into Easter eggs.
Some people just take an egg and use it as it is. Of course, this is not always ideal because if that egg cracks or breaks, all of the egg white and yolk inside will drizzle out and go everywhere.
If you want to avoid this, then you have two options: blow out your egg, or boil it.
Boiling your eggs is the easiest solution but this comes with some downsides too. Once your egg is boiled, they won’t last very long before they start to turn bad and rot.
As a result, we’d recommend that you only use boiled eggs as Easter eggs if you plan on using them in a hunt the very same day. For long term decoration over the holiday? Not so much!
Blowing out your eggs removes all the icky insides but it also leaves behind a very fragile and empty shell.
These kinds of Easter eggs are not ideal for egg hunts but they’ll last for a while if you want to use them as decoration somewhere far out of the reach of kids and pets.
To blow out your eggs, you will need to take a very small pin and gently push it into each egg to make a hole. Then, turn the egg upside down and let all the inside drain out. If you’re struggling, just make the hole a little bigger!
Then, clean your eggs by running hot water through the hole to help ‘blow out’ any leftover membrane or yolk.
Leave your eggs to dry and then you can start to decorate them! Just be gentle when holding them – empty eggs are very easy to break!
Drawing With Sharpies
Now that you have your eggs ready, it’s time to start decorating them.
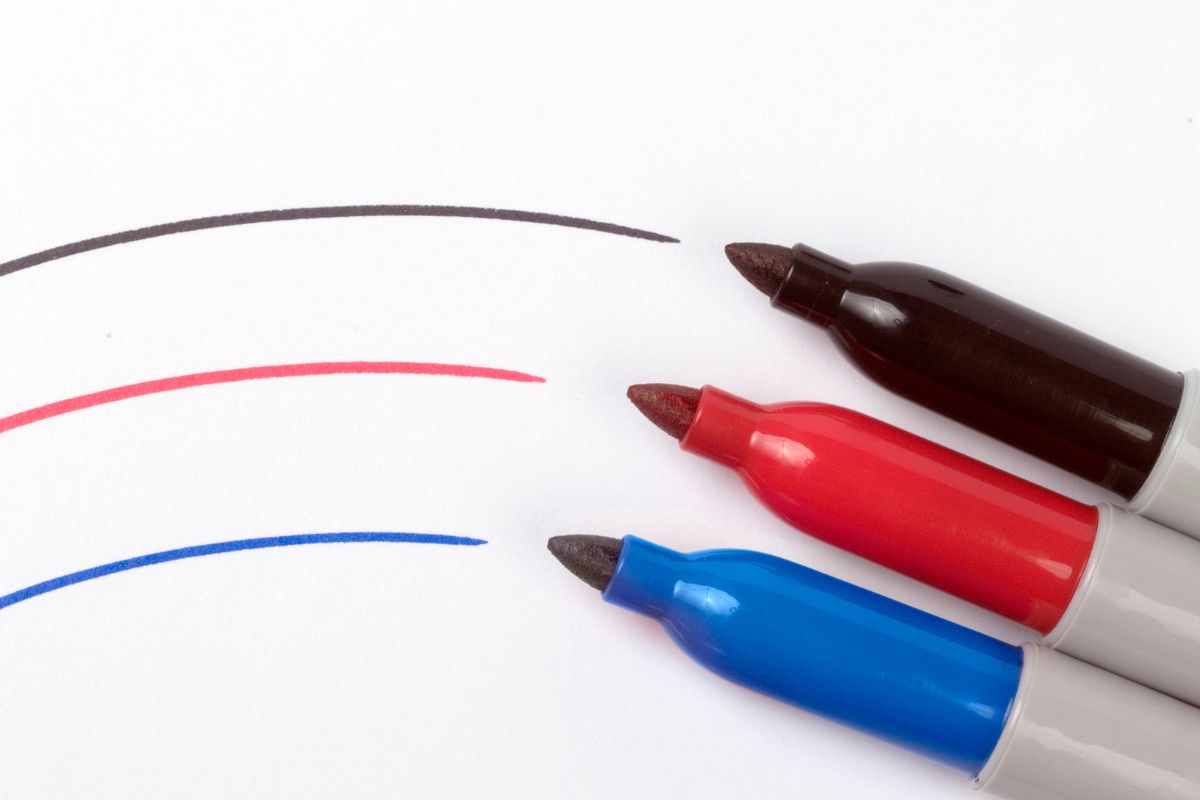
The first and most obvious method of making Easter eggs with Sharpes is to simply color them in!
This is a quick and easy way to make your Easter eggs super bright and colorful, but it can get messy and cause cramps in your hand.
After all, to make sure every inch of your Easter egg is done, you will need to use your hand to hold your Easter egg at awkward angles, and probably end up getting Sharpie ink on your hands and fingertips.
However, this method gives you total control over the outcome of your Easter eggs. You can add patterns, draw pictures, mix and match colors as you desire. There may be some transfer but that’s okay!
At the end of it you will have some amazing Easter eggs – but the fun doesn’t stop there!
Tie-Dye Sharpie Easter Eggs
To mix up your Easter eggs, you can try and create a tie-dye effect using Sharpies!
First, you will still have to draw onto the egg directly using your Sharpies. Add any colors you like but we wouldn’t bother going into fine detail with any drawings. After all, this egg is about to become a colorful tie-dye design!
Once your egg is fully colored in, it’s time to grab some rubbing alcohol and an eye dropper.
Add some rubbing alcohol to the eye dropper and then very carefully, add a single drop of the rubbing alcohol onto the surface of your Easter egg.
This will dilute the Sharpie ink and mix colors together, letting them create a ton of different blended tie-dye patterns.
Leave your eggs to dry and not a single one will look like the other! You will be left with a batch of unique Easter eggs ready for decoration or to be used in a classic Easter egg hunt!
Can You Eat Sharpie Easter Eggs?
If you have used normal eggs or boiled eggs for your Sharpie Easter eggs, then it’s important to remember to throw them out once they are spoiled.
You should not try to eat these eggs because chemicals from either the Sharpie ink or the rubbing alcohol (if you made tie-dye Sharpie Easter eggs) can transfer into the egg itself and contaminate it.
So, no – don’t eat the eggs!
Final Thoughts
Decorating your own Easter eggs is a fun holiday craft project that you can do alone or with your kids! It’s easy and a great way to get creative, so why not try the methods above to try something new! Enjoy!
Hi, my name is Jenna King and I used to be so bored with my life - waking up, working, watching TV, and going to bed.
I made one major change in my life - I started saying yes to everything. My friend wanted to take a cooking class with me, which I would never normally do, but I said yes.
I created this website as an inspiration to you, no matter where you are in life, to get out there and try something new.
Right now - pick something from my site, whether it be a recipe, DIY, or activity - and have fun!


")


")
")

")