Quilting has become very popular over the last decade or two and is an activity that allows you to practice your creativity while creating something that is both beautiful and functional.
It’s also a great way to create something unique and personal to you, and you can use materials and fabrics from old projects, or even old pieces of clothing or items to make up your quilt.
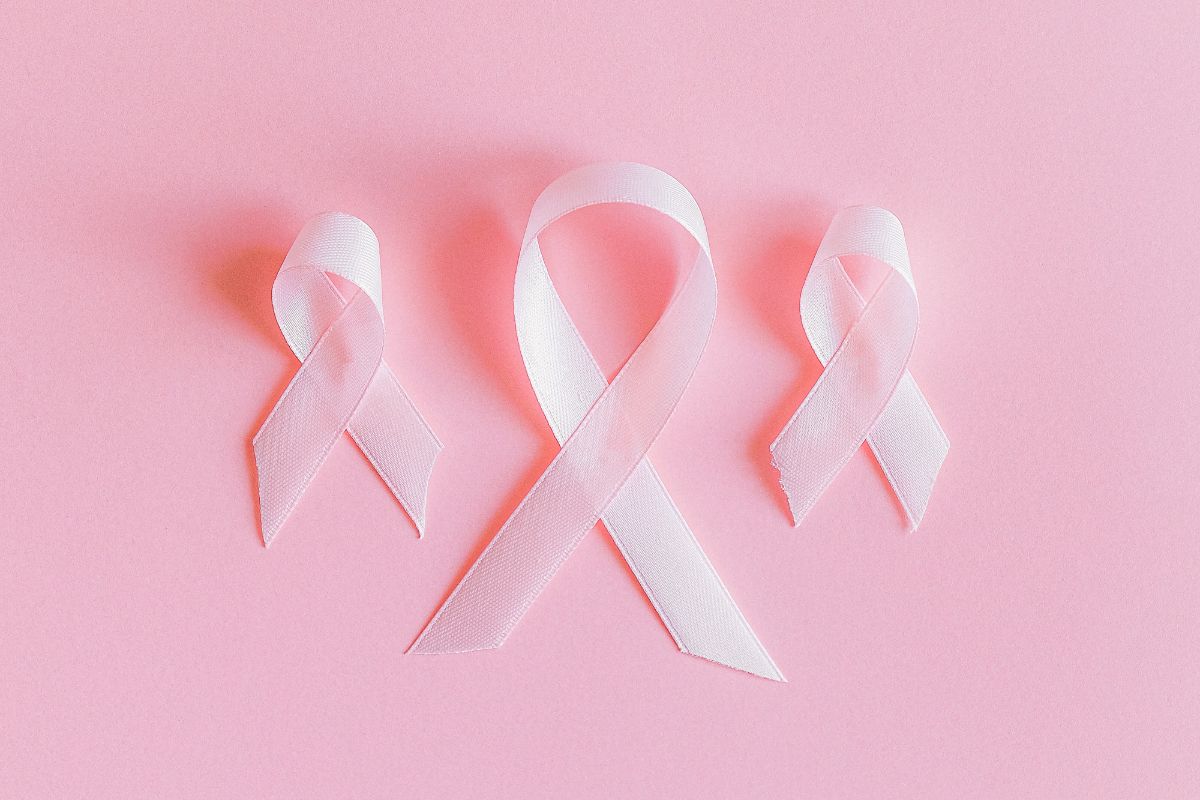
A pink ribbon quilt is a great way to show your support for breast cancer awareness and is a
lovely way to use your skills as a quilter. We have created the ultimate guide to help you create your own pink ribbon quilt, and raise awareness for this important cause.
How To Make A Pink Ribbon Quilt?
So, just how do you go about making a pink ribbon quilt? We have a simple step-by-step guide to get you started!
Choose Your Quilt Style
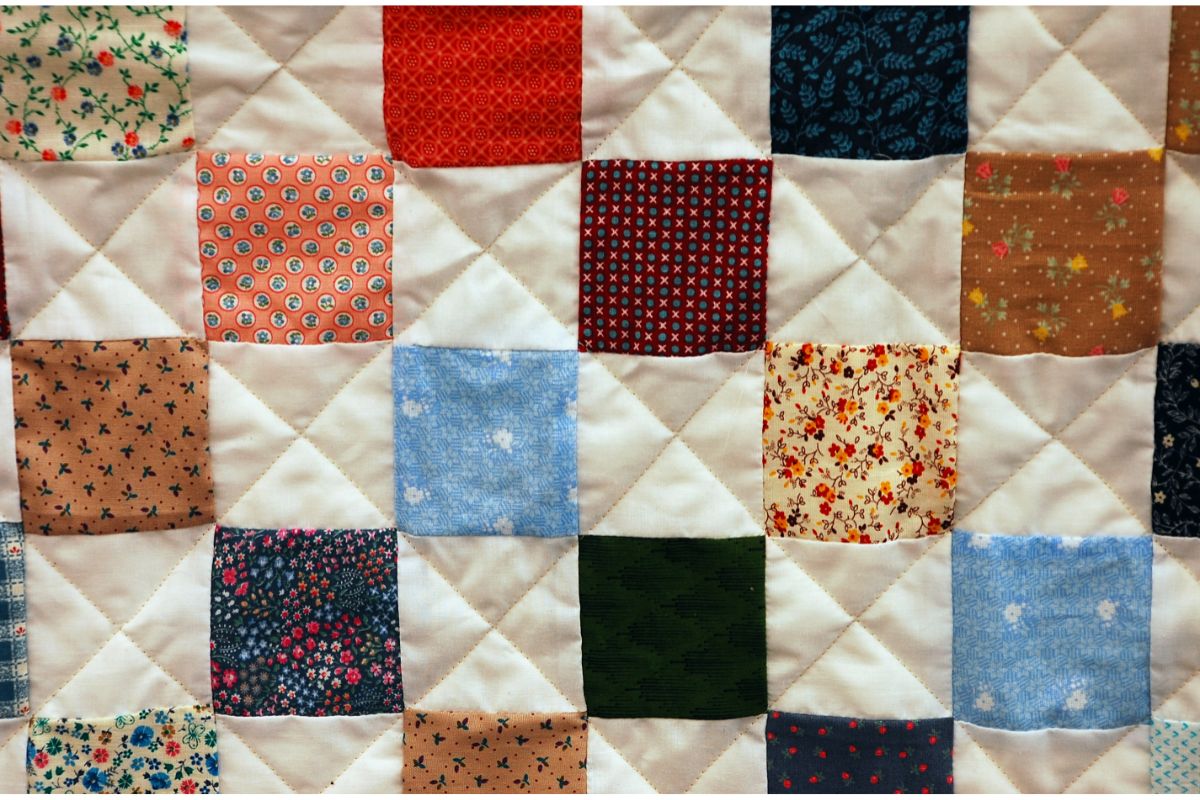
The first thing we need to do is decide what kind of quilt we want to make. There are many different types of quilts available, but one of the most common ones is the traditional patchwork quilt.
This type of quilt uses small squares of fabric cut out from larger blocks of fabric, which are then sewn together in rows to form the finished piece.
The size of each block will depend on how big you want your final quilt to be. You can choose to make it smaller if you prefer, or bigger if you like.
Find A Pink Ribbon Pattern
The next step is to find a pattern for your quilt – there are a number of pre-made samples, plans, and outlines that you can find online, and these will show you exactly what you need to do to complete your project.
This is a good option for those who are new to quilting, as they provide detailed instructions with pictures and diagrams showing you exactly how to sew the various parts of the quilt together.
If you already know how to sew, however, you may prefer to make your own pattern. If so, you can either draw your own design or buy a template designed specifically for making a pink ribbon quilt.
Either way, you should print off the pattern and trace around it onto some paper before cutting it out. Then you can start sewing!
Choose Your Fabric
Once you have your pattern, the next step is to bring your quilt to life. Start by choosing your fabrics – these can be pretty much anything that you like, as long as they are pink.
Some of the most popular fabrics for quilts include:
Cotton
Cotton is often a popular option for quilts, as it is easy to work with and doesn’t require any special care. Cotton is also a natural fiber, which means it won’t shrink when washed.
Polyester
Polyester is another very popular option when it comes to making quilts, and is usually used for baby clothes and bedding.
Polyester is durable and strong and is therefore perfect for quilts. However, polyester tends to wear more quickly than cotton, so it’s not recommended for quilts that will be worn regularly.
Silk
Silk is a luxurious material that is soft to the touch and comfortable to wear.
Silk is also incredibly strong, meaning it can take a lot of abuse without breaking down. It is also hypoallergenic, which makes it ideal for people with allergies.
Lace
Lace is made from fine threads that are woven into patterns. These patterns can range from simple designs to elaborate floral arrangements.
Lace is extremely delicate, so it needs to be handled carefully, but can add a beautiful finish or detail to your quilt.
Felt
Felt is a lightweight fabric that is great for quilts because it is both warm and light at the same time. It is also highly absorbent, which means it can soak up moisture easily.
There are plenty of other options too for great materials, including linen, wool, velvet, and even suede. Whatever you choose, just remember that whatever fabric you use, it must be pink.
Craft Your Quilt
Now that you’ve chosen your fabrics, you’ll need to get started on your quilt top. For the sake of ease, our guide offers steps for a standard 4″ square block – more experienced crafters will be able to adjust this as needed.
Once you have decided on the size of your blocks, cut them out of your fabric. You can then arrange them into rows and columns to create your quilt top.
Remember to leave an extra 2 inches all around each block, as you will need to trim the edges later, and join the pieces.
Sew Together Blocks
The final step in creating your quilt is to sew the blocks together. There are two main methods for doing this: hand stitching and machine stitching.
Hand stitching is generally considered to be superior to machine stitching, as it creates a stronger bond between the pieces of fabric.
However, if you’re looking for something quick and easy, machine stitching is a great option.
Finish Off Your Quilt Top
Your quilt top should now be complete. The last thing you need to do before you start finishing off your quilt is to prepare the backing and batting.
Your backing fabric needs to be large enough to cover your entire quilt top, plus about 1/2 inch all around.
This will ensure that your quilt has no raw edges, and will keep it nice and neat while you stitch it onto the front of your quilt.
Batting is simply a piece of cloth that sits inside your quilt. It keeps everything flat and prevents any wrinkles from forming.
When choosing your batting, make sure it is thick enough to prevent any drafts from getting through.
Attach Bias Tape
Bias tape is a strip of fabric that runs along the edge of your quilt. It helps to stabilize the quilt during sewing and ensures that your seams are straight.
To attach bias tape, fold over one end of the tape by 3-4 inches, and press it firmly. Then, place the folded end against the back side of your quilt top, and pin it in place.
Once pinned, stitch the tape securely to the quilt using a zigzag stitch. Repeat this process for the remaining three sides of your quilt.
If you want, you can also add some decorative stitches here and there to give your quilt a finished look.
Add Binding
Adding binding is the final step in making your quilt. Binding is basically strips of fabric that run down the outside of your quilt. They help to hide the raw edges of your quilt and provide a clean, finished appearance.
To begin adding binding, first measure how much fabric you will need. Cut your fabric accordingly, leaving at least 2 inches all around.
Fold the excess fabric under, so that it forms a tube. Pin the binding to the wrong side of your quilt, with the right sides facing up. Stitch the binding to your quilt using a zip line stitch or blanket stitch.
Enjoy!
You’ve made it! Now that your quilt is done, you can proudly display it wherever you like. And don’t forget to share pictures of your creation on social media!
Final Thoughts
A pink ribbon quilt is a great way to show your support for breast cancer, and raise awareness for women’s health issues – and you get to flex your creative muscles during the construction process!
- 10 Fun Snacks To Serve For The Soccer Game - December 7, 2022
- Handmade Mother’s Day Presents (5 Craft Ideas) - December 7, 2022
- How To Make Easter Eggs (With Sharpies) - November 29, 2022

