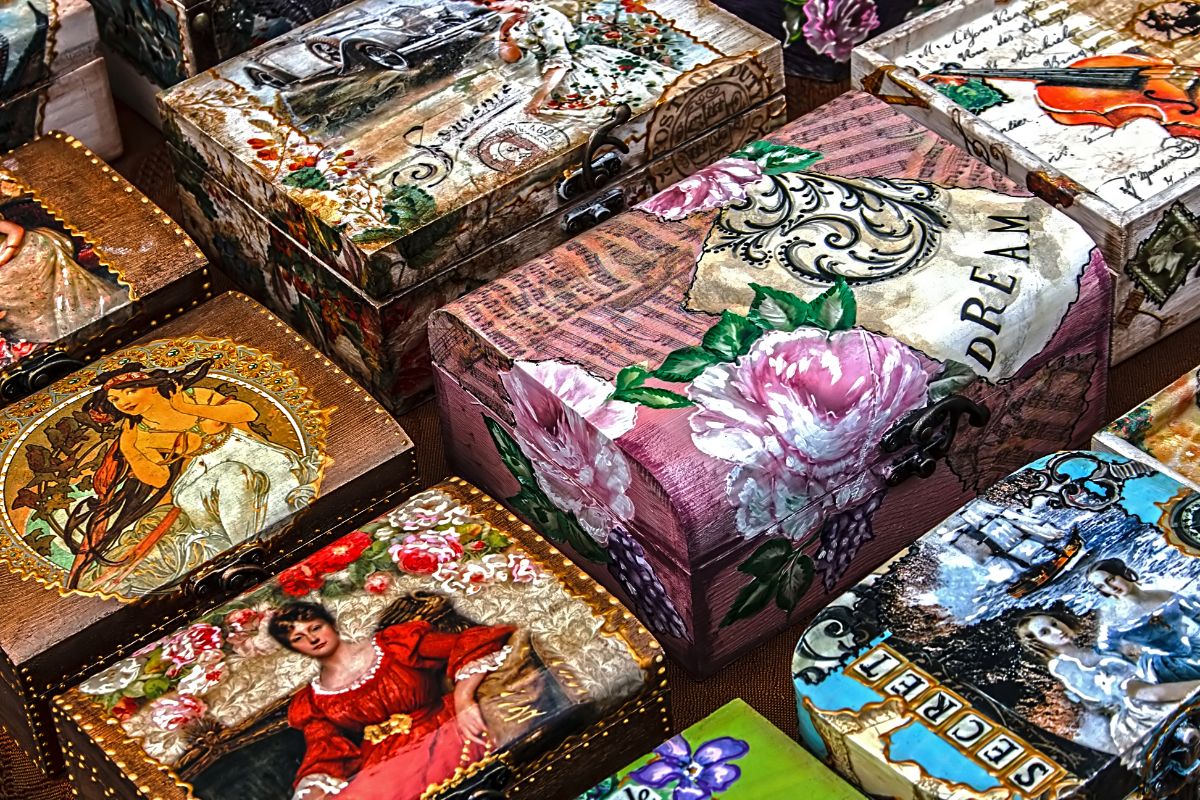
If you have ever bought cigars before, then you will have noticed that they come in a great little wooden box that can easily be repurposed for a ton of different projects.
They’re super handy for keeping your trinkets and bits in, but if you want to use your cigar box for something more sentimental, then making your own memory box is a great idea.
But how?
If you are wondering how you can turn your spare cigar box into a memory box, then this is the guide for you! Here are all the steps you need to follow to transform a cigar box into a lovely memory box!
Step One: Decide What Memories You Want To Keep
Before you should gather your craft supplies, you should first gather memories and ideas.
You may already have some momentos already put aside ready for your memory box, but you should also let these momentos influence the design of your memory box.
For example, if you are creating a memory box to remember your child’s first milestones (their first lock of hair, footprints, baby socks, photographs, etc), then designing your memory box with colors and embellishments that reflect this.
Another example is if your memory box contains memories of a holiday to a certain destination (see also “Cruising At 40: What Makes The Perfect Holiday?“). Why not plan to paint iconography of that location onto your memory box, or find paper flowers that best reflect that country?
Once you know what memories your repurposed cigar box will contain, then it will be easier to gather your supplies.
Step Two: Gather Your Supplies
Now, it’s time to gather all of your materials and tools ready to start making your memory box.
You will need some general craft supplies – glue or adhesive, a pencil, scissors, paint brushes (particularly a sponge brush and matte finish medium brush), a water jar, all the general tools you use for crafting all kinds of things.
You will probably have all of these lying around your house somewhere but if not, they can easily be sourced at a local craft store.
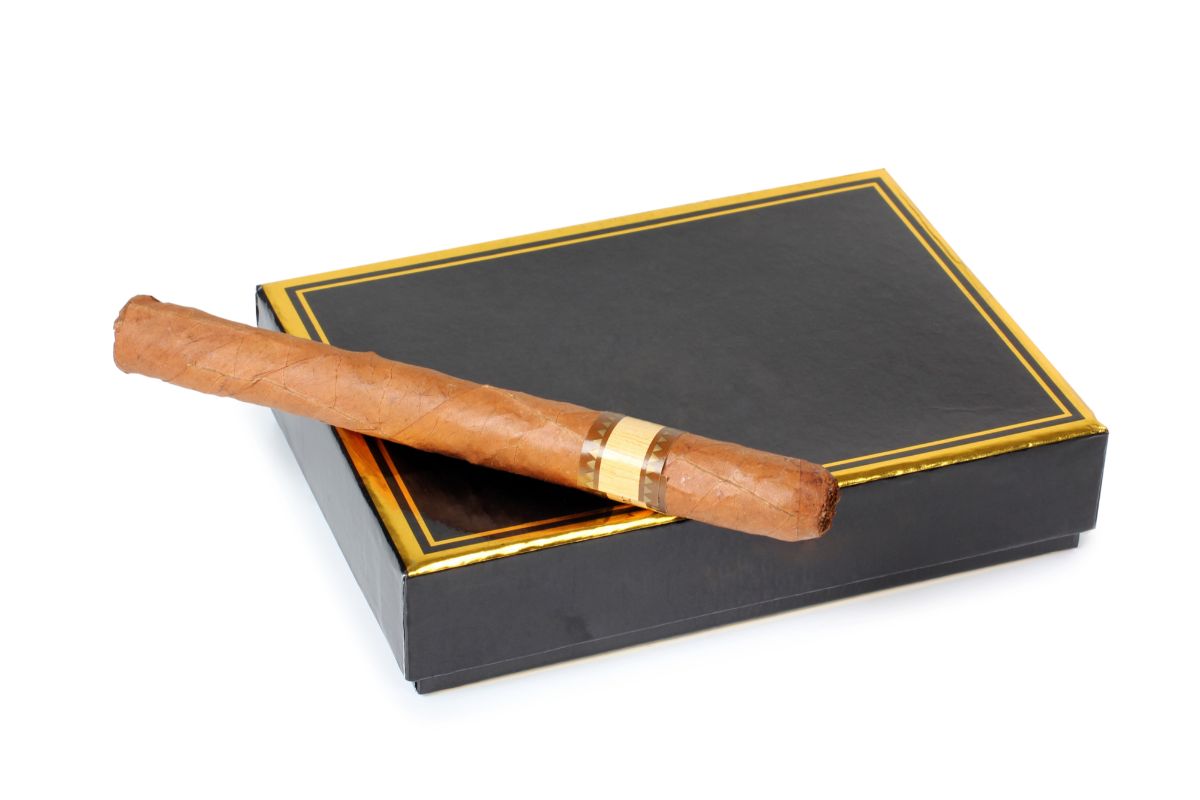
Of course, you will need your cigar box. If you don’t have one yet then they can be bought cheaply at your local smoke or liquor store. Alternatively, any kind of wooden box will do.
Then, you will need the materials you plan on using to decorate your memory box. You will need some colored felt for the interior along with plenty of scrapbook paper.
These can be any color you desire, any patterns, so long as they all coordinate with each other and your design.
Scrapbook paper will work best but you can use any kind of paper materials you choose – wallpaper, wrapping paper, newspaper, photographs, etc.
The final materials you will need are any embellishments you wish to stick onto your box. These can include materials such as lace or ribbon, pearls, studded flowers, rhinestones, Scrabble pieces, ephemera, etc.
Go wild with your design and source whatever you need from your local craft store – they are sure to have all the materials you need!
Step Three: Prepare Your Cigar Box
Now you have everything ready, it’s time to get started.
The first thing you need to do is prepare your cigar box. This involves removing any stickers or loose papers within the box or attached to its exterior.
You will want to try and keep the surface as smooth as possible. If you need to smooth any rough edges, then use a piece of sandpaper to achieve this.
Once your cigar box is ready, you will want to start painting it with acrylic paint.
This is particularly for the edges (both inside the box and outside) as when it comes to sticking down your scrapbook paper, these edges will be difficult to cover.
So, choose an appropriate color for your design and paint a thick border around all the edges and corners of your box.
Try and paint over any logos or writing printed onto the box so they won’t show up in the final design. You will probably need to use more than one coat of paint – so add as many as you need.
Step Four: Decorate The Interior
Before you rush to decorate the outside of your memory box, it’s a good idea to sort out the interior first.
You can paint around all the sides of the interior of your box and use your felt and adhesive (or glue) to make a soft bottom layer.
To do this, measure the size of your box and draw a replica rectangle onto your felt. Cut it out using your scissors and see if it fits.
Trim any edges if necessary, but try to keep the felt completely smooth and as tight to the sides as possible.
As for the lid, this can be painted and decorated as you see fit – although we don’t recommend you add any embellishments here as they can limit the room you have inside your box.
Step Five: Decorate The Exterior
Decorating the exterior of your memory box is the truly fun part of this project as this is where you start sticking down all of your coordinated scrapbooking papers and embellishments.
First, add any layers of paint you see fit moving onto the lid of your memory box. You may want to paint the bottom layer of the box too!
Once the paint is all dry, it’s time to start adding your scrapbooking papers. Use glue or adhesive to stick down the papers as you see fit, following the design you made beforehand.
Tear or cut papers, add embellishments, stick down stickers or ephemera. Remember to let each layer of paper dry first before adding more on top.
For this part, it’s all down to you and your design. You can find plenty of inspiration elsewhere online so check out some ideas for your own memory box!
Once your decorating is done, your memory box is finally ready to be used.
Final Thoughts
Turning a cigar box into a memory box is easy but it takes a lot of creativity and planning.
Follow this guide to make sure you have every aspect of your memory box covered and you have all the supplies you need. Then, get creative and have fun!
Hi, my name is Jenna King and I used to be so bored with my life - waking up, working, watching TV, and going to bed.
I made one major change in my life - I started saying yes to everything. My friend wanted to take a cooking class with me, which I would never normally do, but I said yes.
I created this website as an inspiration to you, no matter where you are in life, to get out there and try something new.
Right now - pick something from my site, whether it be a recipe, DIY, or activity - and have fun!


")
")


")

")