Not only is it more affordable than purchasing prints and paintings straight up, but it allows you to flex your creativity and make the exact kind of art you want in your home.
Collages are particularly effective and pretty easy to make – but how can you make a mixed media collage on a canvas?
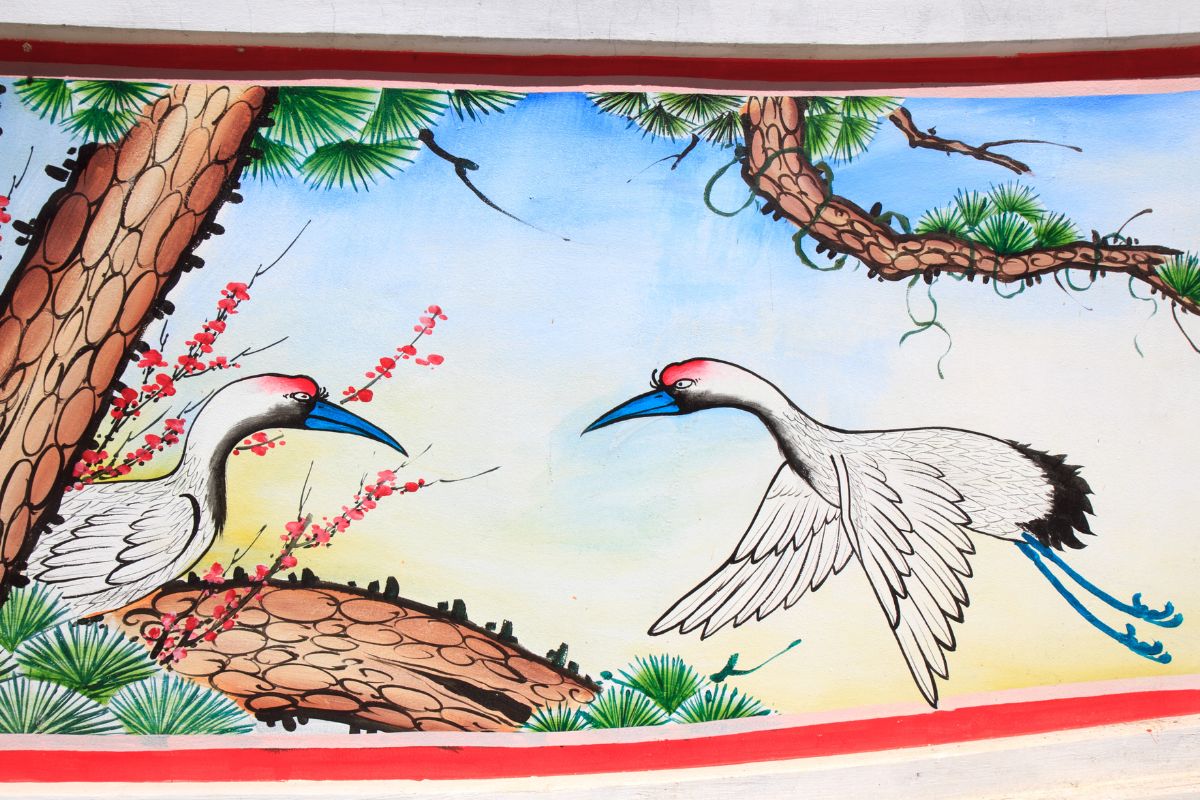
Here, we are going to be taking you through all the steps you need to follow in order to make a wonderful bird collage canvas art piece (see also “How To Make Octopus Canvas Art (DIY)“). Check out the guide below and give it a try yourself!
Step One: Pick Your Design
Before you start gathering your supplies, you first need to know what kind of bird collage you want to make.
There are tons of different designs you can take inspiration from and choosing details in advance will make the rest of the process so much easier.
First, think about what kind of birds you want to add to your canvas. There’s plenty to choose from – parrots, swans, ravens, robins, hawks, etc.
Once you know what bid you want to add to your art, it’s best to practice drawing the design on a separate piece of paper.
You can try different layouts and perfect your technique. Keep the paper design to one side until you are ready to start drawing on your canvas.
Next, think about what colors you want to use. Some people prefer to stick to natural colors for their birds, but what about the background? What kind of mood do you want your art to convey? What kind of style?
Once you know what you want your bird collage canvas art to look like, then you will have a better idea of what kind of materials you would like to use!
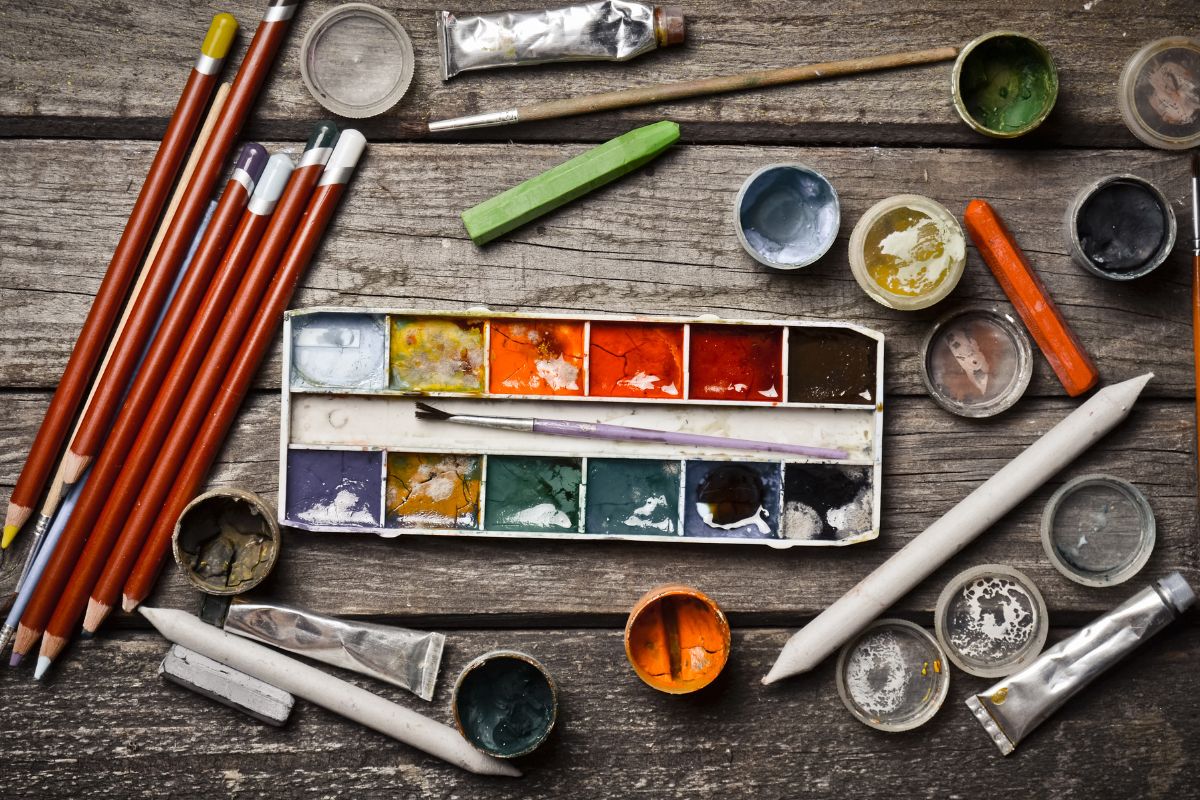
Step Two: Gather Your Supplies
The next step is to gather all of your supplies including your materials and tools.
The first thing to grab is your canvas. This can be any size and easily sourced from a range of art stores or retailers – or, just go online!
Next, is the glue. Now – if you plan on using purely paper or very light materials for your collage, then we would recommend you use Golden Soft Gel.
It works like glue to help paper and card stick to your canvas but provides a glossy, fine finish that does not go all lumpy like other glues do.
All you need is a soft brush and a rubber squeegee to help brush out any air bubbles underneath your collage as you go along.
Next is your collage materials. Most people use colorful rice papers but why not think outside the box? Use letters, newspapers, photographs, wrapping paper, wallpaper, and magazines.
Get papers with crazy patterns on display scenes that match the mood and style of your design. If you want to add paint, then grab some!
However, if you plan on adding some heavier materials to your collage (like cardboard, or anything to add depth and texture), then using Golden Soft Gel might not be enough to get these heavier materials to stick onto your canvas.
In this case, you will need to use a strong glue. This is especially true if you want to add feathers, wool, or beads to your bird.
Overall, the sky’s the limit when it comes to what materials you would like to use. Why not try sprinkling some glitter? Stick down some sequins? Paper flowers?
The important thing is that you add all the materials you need to match the mood and style of your design, and don’t drown out your birds!
They are the main focus of the piece of art – make sure they don’t get lost in the noise of a busy collage! As a result, you may want to try inking around them with a black fine line pen.
Other than this, all that’s left is some basic tools – pencils to draw your design onto your canvas, brushes for your paint and glue, a pair of scissors to cut down your materials to size, a small water jar, newspapers or rags to put down over your workspace.
Step Three: Draw Your Design Onto Your Canvas
Using your pencil, lightly sketch your pre-drawn design onto your canvas. You can copy it by eye, or try and use tracing paper if you are really struggling to get it right.
The important thing here is not to sweat the mistakes. Remember, you are going to eventually cover this design with your materials so no one will see any mistakes you have made during this step of the process!
Step Four: Start Sticking
Now your design is on the canvas, it’s time to start adding your materials – starting with the background.
Tear or cut your materials down to the right size then brush some Golden Soft Gel over the area – and stick it down! Use your squeegee to smooth out the material and remember to be gentle to avoid ripping or damaging any paper.
If you find that the Golden Soft Gel is too thick for your liking, then you can add a small amount in a separate jar and add a little bit of water to thin it out.
If you start losing details of your design as you add more materials to your canvas, then just draw them back in with a pencil.
If you want to add any paint to your collage, then we’d recommend waiting until the Golden Soft Gel is mostly dry before painting on top of it.
When adding heavier materials, try to keep your glue spread thinly to avoid creating lumps or streaks. This will be tricky, especially when adding feathers because they themselves are so thin and delicate.
Once your papers are stuck down, we’d recommend painting over one final layer of Godle Soft Gel to help give it a uniform, glossy finish. Leave your canvas to dry, and it will be done!
Final Thoughts
And that’s how you can make your very own bird collage canvas! Make the best design, gather your supplies, and most importantly, have fun while making your very own piece of art!
Hi, my name is Jenna King and I used to be so bored with my life - waking up, working, watching TV, and going to bed.
I made one major change in my life - I started saying yes to everything. My friend wanted to take a cooking class with me, which I would never normally do, but I said yes.
I created this website as an inspiration to you, no matter where you are in life, to get out there and try something new.
Right now - pick something from my site, whether it be a recipe, DIY, or activity - and have fun!


")


")


")

")